Windows 11因挑剔硬件而臭名昭著。如果您绕过正常要求并强制安装,则可能会看到“未满足系统要求”消息。下面是如何禁用它。
可以通过注册表黑客禁用消息。您可以使用Regedit手动执行,也可以使用我们提供的注册表项。
Note: The specific registry key used to control the message is currently present in unstable Windows Insider builds as of March 2022, so it is possible it will change again in the future.
相关信息:为什么Windows 11说“系统要求未满足”?
使用regedit禁用“未满足系统要求”
Warning: As always, be careful when editing the registry. Deleting or changing keys can cause serious problems for your computer. You should read more about how to use regedit before proceeding.
使用注册表编辑器禁用“System Requirements Not Met”消息非常简单。单击“开始”按钮,在搜索栏中键入“regedit”,然后按Enter键或单击“打开”
密钥位于:Computer\HKEY_CURRENT_USER\ControlPanel\UnsupportedHardwareNotificationCache
导航到那里或将路径粘贴到地址栏中。
应该有一个名为SV2的DWORD值。右键单击它并单击“修改”,或双击它以打开编辑器。
将值从“1”更改为“0”,然后单击“确定”
如果密钥不存在,您需要创建它。右键单击“控制面板”,转到“添加”,然后单击“密钥”。您需要将密钥命名为UnsupportedHardwareNotificationCache。
创建密钥后,需要添加一个DWORD值。右键单击“UnsupportedHardwareNotificationCache”,鼠标悬停在“新建”上,然后单击“DWORD(32位)值”
将新条目命名为“SV2”,并将值设置为“0”。
您可能需要重新启动Explorer.exe或计算机才能使更改生效。
使用提供的密钥禁用“未满足系统要求”
如果你不想自己乱弄注册表,我们已经为你准备好了。此可下载的ZIP文件包含一个REG文件,该文件将为您进行上述更改:
下载禁用的系统要求NotMet注册表黑客
Note: You should always be cautious with files downloaded from the Internet, especially if they’re executables or REG files. You can open the REG files in Notepad or any other plain text editor to verify that they only change the key we specified in this article.
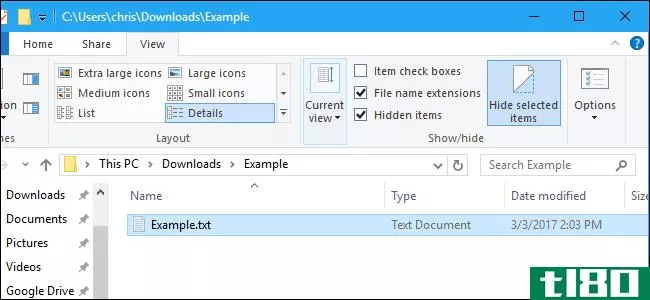
通过单击链接下载ZIP文件,然后使用您选择的程序将内容解压缩到您想要的任何位置。文件资源管理器能够解压缩内置的ZIP文件。
右键单击ZIP文件,然后单击“全部提取”。按照提示操作,将创建一个与ZIP文件同名的文件夹。
双击名为“Disable_Unsupported_Message.reg”的键。出现提示时,允许该键更改注册表。
应用密钥后重新启动计算机。
Note: There is another REG file included in the ZIP that will undo the “Disable_Unsupported_Message.reg” REG file, just in case something doesn’t work right.
自Windows 11发布以来,Windows 11的硬件需求一直是一个移动的目标。如果在Windows更新后消息突然返回,请尝试像我们这里所做的那样禁用它。未来的更新可能会使此方法变得无关紧要或无效,因此如果它停止工作,可能不是您的错。