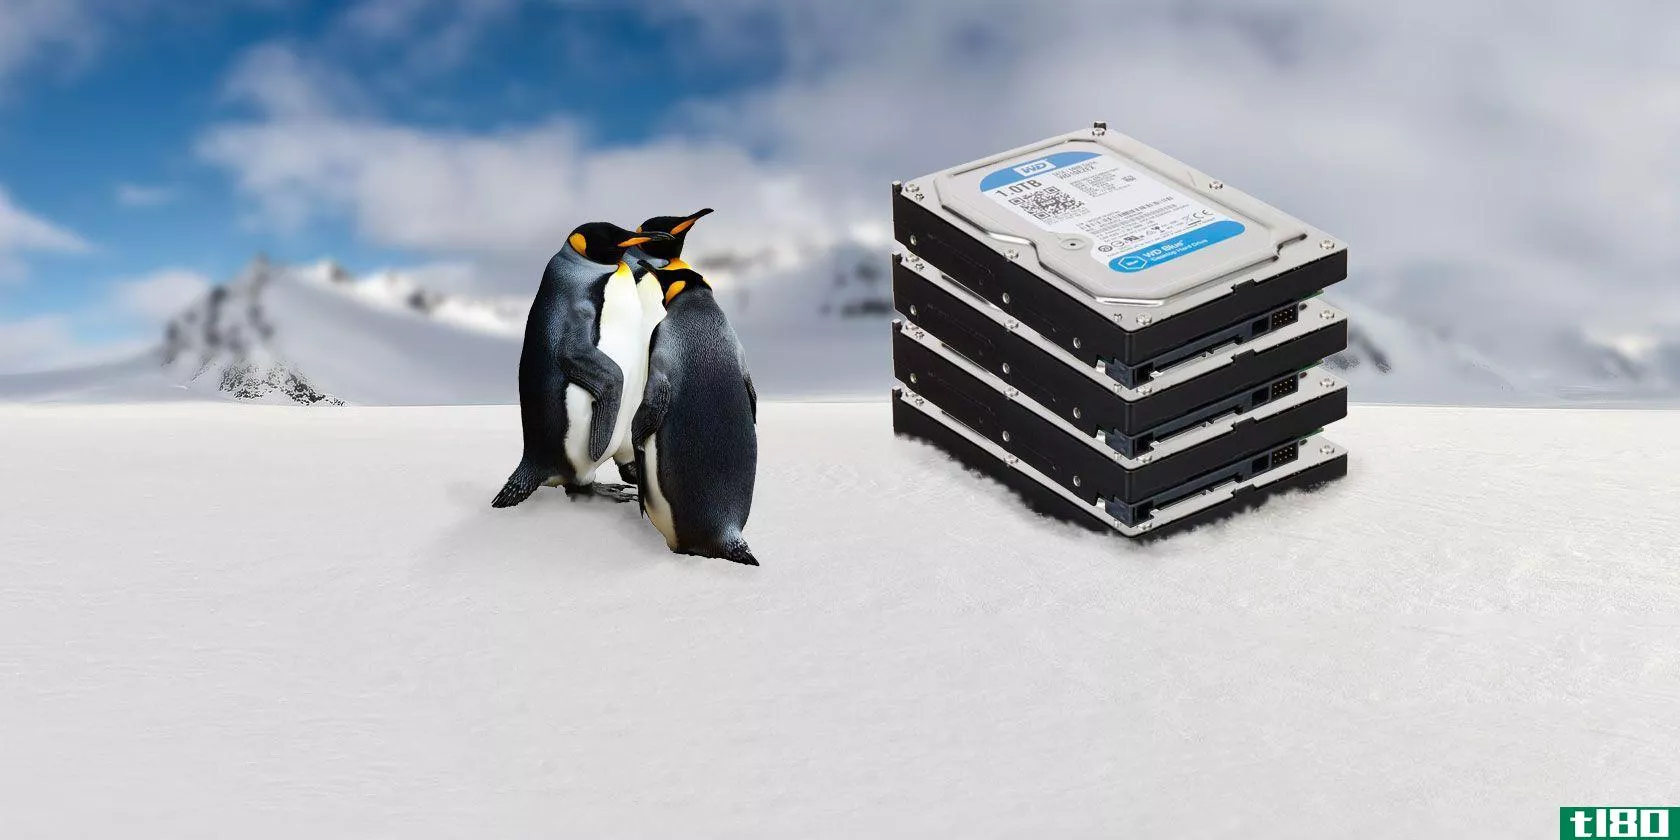
如何在ubuntu上为简单的文件服务器设置软件raid
你是否需要一个便宜的文件服务器,易于安装,“坚如磐石”可靠的电子邮件警报?将向您展示如何使用Ubuntu、软件RAID和SaMBa来实现这一点。
概述
尽管最近流行将所有内容移动到“全能”云上,但有时您可能不希望您的信息位于其他服务器上,或者每次从internet下载所需的大量数据(例如映像部署)都是不可行的。因此,在您为存储解决方案在预算中划出一块地方之前,请考虑一种Linux免费许可的配置。
尽管如此,廉价/免费并不意味着“抛开谨慎”,为此,我们将注意到除使用软件RAID外,还应设置的配置,以实现最大的性价比。
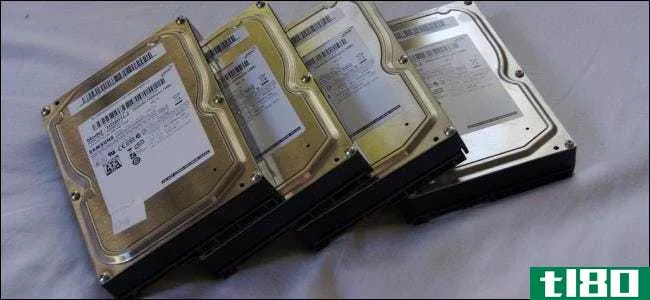
Filomena Scalise图像
关于软件raid
顾名思义,这是一种RAID(廉价磁盘冗余阵列)设置,完全由软件完成,而不是使用专用硬件卡。这样做的主要优点是成本,因为这种专用卡是系统基本配置的额外优势。主要缺点是性能和一些可靠性,因为这样的卡通常带有自己的RAM+CPU来执行冗余数学所需的计算,数据缓存以提高性能,以及可选的备用电池,用于在断电情况下恢复供电之前,将未写入的操作保存在缓存中。
使用软件RAID设置,您可以牺牲一些系统CPU性能以降低系统总成本,但是使用今天的CPU,开销相对可以忽略不计(特别是如果您打算将此服务器主要用作“文件服务器”)。就磁盘性能而言,会有一个损失……不过,我从未遇到过来自服务器的磁盘子系统的瓶颈来说明它有多严重。Tom's Hardware guide“Tom's goes RAID5”是一篇关于这个主题的老生常谈但又非常详尽的文章,我个人将其作为参考,然而,在谈到软件RAID的windows实现时,对基准测试持一点保留态度(与其他所有内容一样,我相信Linux要好得多:P)。
先决条件
- 耐心点,年轻人,这是一本很长的书。
- 假设您知道RAID是什么以及它的用途。
- 本指南是使用ubuntuserver9.10x64编写的,因此假设您也有一个基于Debian的系统可以使用。
- 你会看到我使用VIM作为编辑器程序,这只是因为我习惯了它…你可以使用任何其他编辑器,你想。
- 我用来编写本指南的Ubuntu系统安装在一个磁盘上。这样做使我可以使用sda1作为RAID阵列的一部分,因此可以根据您的设置进行相应的调整。
- 根据要创建的RAID类型,系统上至少需要两个磁盘,在本指南中,我们使用6个驱动器。
选择构成阵列的磁盘
避免陷阱的第一步是知道它的存在(来自沙丘的Thufir Hawat)。
选择磁盘是一个至关重要的步骤,不应掉以轻心,明智的做法是利用您的真实经验并注意以下警告:
不要使用“消费级”驱动器来创建阵列,请使用“服务器级”驱动器!!!!!!
现在我知道你在想什么了,我们不是说要便宜点吗?是的,我们做到了,但是,这正是这样做是鲁莽的,应该避免的地方之一。尽管价格诱人,但消费级硬盘并不是设计成24/7“开”型的。相信我,你真的为你试过了。在我这样设置的3台服务器中,至少有4台消费级驱动器(由于预算限制)在服务器首次推出后的1.5~1.8年后出现故障。虽然没有数据丢失,但因为RAID做得很好并且幸存了下来…像这样的时刻缩短了系统管理员的预期寿命,更不用说公司的服务器维护停机时间(这可能会比更高级别的驱动器更贵)。
有人可能会说这两种类型的失败率没有差别。这可能是真的,但是尽管有这些说法,服务器级驱动器仍然有更高级别的S.M.a.R.T限制和QAing(这一点可以从一个事实上观察到,它们并没有在消费级驱动器上市后立即上市),因此我仍然强烈建议您为升级支付额外的$$$。
选择raid级别。
虽然我不打算讨论所有可用的选项(这在raid*********条目中有很好的记录),但我确实觉得值得注意的是,您应该始终选择至少raid6或更高版本(我们将使用Linux RAID10)。这是因为当一个磁盘发生故障时,相邻磁盘发生故障的可能性更高,然后您就有了“双磁盘”故障。此外,如果您打算使用大型驱动器,因为较大的磁盘在盘面上的数据密度较高,则发生故障的可能性较高。2T及更高版本的IMHO磁盘总是属于这一类,因此请注意。
我们开始吧
分区磁盘
而在Linux/GNU中,我们可以使用整个块设备来满足存储需求,我们将使用分区,因为这样可以更容易地使用磁盘救援工具,以防系统崩溃。我们在这里使用的是“fdisk”程序,但是如果您要使用大于2T的磁盘,则需要使用支持GPT分区的分区程序,如parted。
sudo fdisk /dev/sdb
注意:我已经注意到在不改变分区类型的情况下创建数组是可能的,但是因为这是整个网络中描述的方式,所以我将遵循这个方法(同样当使用整个块设备时,这是不必要的)。
进入fdisk后,按键为:
n;对于新分区entrep;对于主分区enter1;分区数enter;接受defaultenter;接受defaultt;更改类型fd;将类型设置为“Linux raid auto detect”(83h)w;将更改写入磁盘并退出
对将成为阵列一部分的所有磁盘进行冲洗和重复。
创建linux raid10阵列
使用“LinuxRAID10”的优势在于,它知道如何利用非偶数个磁盘来提高性能和恢复能力,甚至比普通raid10还要高,此外,使用“10”阵列只需一步即可创建。
通过发出以下命令,从我们在上一步中准备的磁盘创建阵列:
sudo mdadm --create /dev/md0 --chunk=256 --level=10 -p f2 --raid-devices=5 /dev/sda1 /dev/sdb1 /dev/sdc1 /dev/sdd1 /dev/sde1 --verbose
注意:尽管表示法将其分成两行,但这都只是一行。
我们来分解参数:
- “–chunk=256”–raid条带的字节大小,建议新磁盘/大型磁盘使用此大小(用于**本指南的2T驱动器无疑属于该类别)。
- “–level=10”–使用Linux raid10(如果需要传统的raid,无论出于什么原因,您都必须创建两个阵列并将它们连接起来)。
- “-p f2”–使用“far”旋转计划(参见下面的注释)了解更多信息,“2”表示数组将保留两个数据副本。
注意:我们使用“far”计划是因为这会导致磁盘上的物理数据布局不同。这有助于克服其中一个驱动器的硬件由于**故障而出现故障的情况(不要认为“这不会发生在我身上”,就像你真正的那样)。由于这两个磁盘的品牌和型号相同,使用方式相同,而且传统上一直将数据保存在同一物理位置……因此存在这样的风险:保存数据副本的驱动器也出现故障,或者接近,并且在替换磁盘到达之前无法提供所需的恢复能力。“far”计划使数据分发到拷贝驱动器上的一个完全不同的物理位置,此外还使用计算机机箱中彼此不靠近的磁盘。更多信息可以在这里和下面的链接中找到。
一旦创建了数组,它就会开始同步过程。虽然您可能希望等待传统(因为这可能需要一段时间),但您可以立即开始使用数组。
可以通过以下方法观察进展:
watch -d cat /proc/mdstat
创建mdadm.conf文件配置文件
While it has been proven that Ubuntu simply knows to scan and activate the array automatically on startup, for completeness sake and courtesy for the next sysadmin we will create the file. Your system doesn’t automatically create the file and trying to remember all the components/partiti*** of your RAID set, is a waist of the system admin’s sanity. This information can, and should be kept in the mdadm.conf file. The formatting can be tricky, but fortunately the output of the mdadm –detail –scan –verbose command provides you with it.
Note: It has been said that: “Most distributi*** expect the mdadm.conf file in /etc/, not /etc/mdadm. I believe this is a “ubuntu-i**” to have it as /etc/mdadm/mdadm.conf”. Due to the fact that we are using Ubuntu here, we will just go with it.
sudo mdadm --detail --scan --verbose > /etc/mdadm/mdadm.conf
IMPORTANT! you need to remove one “0” from the newly created file because the syntax resulting from the command above isn’t completely correct (GNU/Linux isn’t an OS yet).
If you want to see the problem that this wrong configuration causes, you can issue the “scan” command at this point, before making the adjustment:
mdadm --examine --scan
To overcome this, edit the file /etc/mdadm/mdadm.conf and change:
metadata=00.90
To read:
metadata=0.90
Running the mdadm –examine –scan command now should return without an error.
Filesystem setup on the array
I used ext4 for this example because for me it just built upon the familiarity of the ext3 filesystem that came before it while providing promised better performance and features. I suggest taking the time to investigate what filesystem better suits your needs and a good start for that is our “Which Linux File System Should You Choose?” article.
sudo mkfs.ext4 /dev/md0
Note: In this case i didn’t partition the resulting array because, i simply didn’t need it at the time, as the requesting party specifically requested at least 3.5T of continuous space. With that said, had i wanted to create partiti***, i would have had to use a GPT partitioning capable utility like “parted”.
Mounting
Create the mount point:
sudo mkdir /media/raid10
Note: This can be any location, the above is only an example.
Because we are dealing with an “assembled device” we will not use the filesystem’s UUID that is on the device for mounting (as recommended for other types of devices in our “what is the linux fstab and how does it work” guide) as the system may actually see part of the filesystem on an individual disk and try to incorrectly mount it directly. to overcome this we want to explicitly wait for the device to be “assembled” before we try mounting it, and we will use the assembled array’s name (“md”) within fstab to accomplish this. Edit the fstab file:
sudo vim /etc/fstab
And add to it this line:
/dev/md0 /media/raid10/ ext4 defaults 1 2
Note: If you change the mount location or filesystem from the example, you will have to adjust the above accordingly.
Use mount with the automatic parameter (-a) to simulate a system boot, so you know that the configuration is working correctly and that the RAID device will be automatically mounted when the system restarts:
sudo mount -a
You should now be able to see the array mounted with the “mount” command with no parameters.
Email Alerts for the RAID Array
Unlike with hardware RAID arrays, with a software array there is no controller that would start beeping to let you know when something went wrong. Therefore the Email alerts are going to be our only way to know if something happened to one or more disks in the array, and thus making it the most important step.
Follow the “How To Setup Email Alerts on Linux Using Gmail or SMTP” guide and when done come back here to perform the RAID specific steps.
Confirm that mdadm can Email The command below, will tell mdadm to fire off just one email and close.
sudo mdadm --monitor --scan --test --oneshot
If successful you should be getting an Email, detailing the array’s condition.
Set the mdadm configuration to send an Email on startup While not an absolute must, it is nice to get an update from time to time from the machine to let us know that the email ability is still working and of the array’s condition. your probably not going to be overwhelmed by Emails as this setting only affects startups (which on servers there shouldn’t be many). Edit the mdadm configuration file:
sudo vim /etc/default/mdadm
Add the –test parameter to the DAEMON_OPTIONS section so that it would look like:
DAEMON_OPTIONS="--syslog --test"
You may restart the machine just to make sure your “in the loop” but it isn’t a must.
Samba Configuration
Installing SaMBa on a Linux server enables it to act like a windows file server. So in order to get the data we are hosting on the Linux server available to windows clients, we will install and configure SaMBa. It’s funny to note that the package name of SaMBa is a pun on the Microsoft’s protocol used for file sharing called SMB (Service Message Block).
In this guide the server is used for testing purposes, so we will enable access to its share without requiring a password, you may want to dig a bit more into how to setup permissi*** once setup is complete.
Also it is recommended that you create a non-privileged user to be the owner of the files. In this example we use the “geek” user we have created for this task. Explanati*** on how to create a user and manage ownership and permissi*** can be found in our “Create a New User on Ubuntu Server 9.10” and “The Beginner’s Guide to Managing Users and Groups in Linux” guides.
Install Samba:
aptitude install samba
Edit the samba configuration file:
sudo vim /etc/samba/**b.conf
Add a share called “general” that will grant access to the mount point “/media/raid10/general” by appending the below to the file.
[general] path = /media/raid10/general force user = geek force group = geek read only = No create mask = 0777 directory mask = 0777 guest only = Yes guest ok = Yes
The settings above make the share addressable without a password to anyone and makes the default owner of the files the user “geek”.
For your reference, this **b.conf file was taken from a working server.
Restart the samba service for the settings to take affect:
sudo /etc/init.d/samba restart
Once done you can use the testparm command to see the settings applied to the samba server. that’s it, the server should now be, accessible from any windows box using:
\server-namegeneral
Troubleshooting
When you need to troubleshoot a problem or a disk has failed in an array, I suggest referring to the mdadm cheat sheet (that’s what I do…).
In general you should remember that when a disk fails you need to “remove” it from the array, shutdown the machine, replace the failing drive with a replacement and then “add” the new drive to the array after you have created the appropriate disk layout (partiti***) on it if necessary.
Once that’s done you may want to make sure that the array is rebuilding and watch the progress with:
watch -d cat /proc/mdstat
Good luck! :)
References: mdadm cheat sheet RAID levels break down Linux RAID10 explained mdadm command man page mdadm configuration file man page Partition limitati*** explained
Using software RAID won’t cost much… Just your VOICE ;-)
- 发表于 2021-04-13 02:47
- 阅读 ( 207 )
- 分类:互联网
你可能感兴趣的文章
如何在linux下配置raid硬盘阵列
...别上完成。硬件风格需要一个RAID控制器,它通常存在于服务器级硬件中。幸运的是,Linux有RAID的软件版本。原理是一样的,但请记住,开销将在CPU上,而不是在RAID控制器上。 ...
如何用旧计算机构建linux网络服务器
有兴趣建立一个家庭网络服务器?最简单的方法是在备用计算机上安装Linux。由于Linux的简单性,这非常简单,为您提供了一种负担得起的网站或博客宿主方式。 ...
如何在ubuntu上安装ftp服务器
如果要设置Linux服务器,则需要FTP访问。这意味着首先在Linux上安装FTP服务器。这应该是安装服务器操作系统后首先要做的事情之一。 ...

Ubuntu19.10“eoan ermine”的新增功能,现已推出
...的,其中有两个熟悉的选项。您可以使用Xorg或Wayland显示服务器启动Ubuntu。 雅鲁主题已经更新,有许多新的图标。这与19.04的视觉效果并没有太大的不同,但是来自早期版本的Ubuntu的用户将会看到Ubuntu Ambiance默认主题的很大变化...
如何升级到ubuntu的最新版本
...,然后按Enter键: update-manager -c 软件更新工具检查Ubuntu的服务器,如果有新版本的Ubuntu,应该会通知你。点击“升级”按钮升级到Ubuntu的更新版本。 如果在软件更新程序工具中没有看到通知新版本可用的消息,请按Alt+F2,键入...
windows10的新bashshell所能做的一切
...的Linux发行版,那么您可能正在测试将在运行suselinux企业服务器或Debian的服务器上运行的软件,或者您需要Kali-Linux中的安全测试工具,它们可以在Ubuntu的商店中找到。 访问bash中的windows文件,并在windows中访问bash文件 相关:如...
如何设置和开始你的概要nas
...来,这样我们就可以进入所有有趣的项目了一个具有类似服务器的功能的小型NAS可以促进。 什么是总论(a synology nas)? Synology是一家成立于2000年的公司,专门从事网络连接存储(NAS)设备。简单地说,NAS是一种为数据存储而优化...
如何在ubuntu上安装和使用zfs(以及为什么要这样做)
...的其他Linux发行版。 这种文件系统通常被组织用于更大的服务器,而不是台式机。它的目的是通过防止数据损坏来保持数据的完整性。每个文件都有一个校验和,用于验证文件并确保它没有损坏。它还能够管理zettabytes的数据,...
如何在ubuntu上使用lvm来轻松调整分区大小和快照
...面类似于Windows上的RAID阵列或存储空间。虽然这项技术在服务器上特别有用,但也可以在台式PC上使用。 你应该在新安装的ubuntu中使用lvm吗? 第一个问题是你是否想在安装Ubuntu时使用LVM。Ubuntu通过快速单击使其易于启用,但默...
如何使用googleauthenticator登录linux桌面
...出的,这个解决方案并不依赖于“打电话回家”到谷歌的服务器。它实现了标准的TOTP算法,即使您的计算机没有互联网接入,也可以使用。 创建身份验证密钥 现在,您需要创建一个秘密身份验证密钥,并将其输入到**上的googlea...
0 篇文章