如何画3d字母(draw 3d letters)
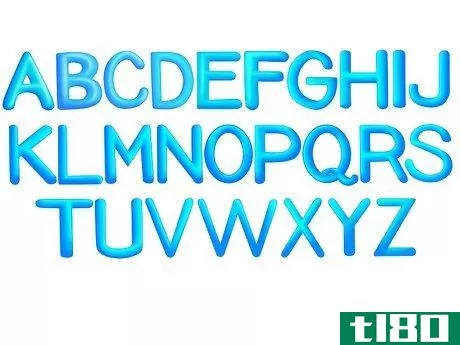
字母表样本
3d方块字母表示例
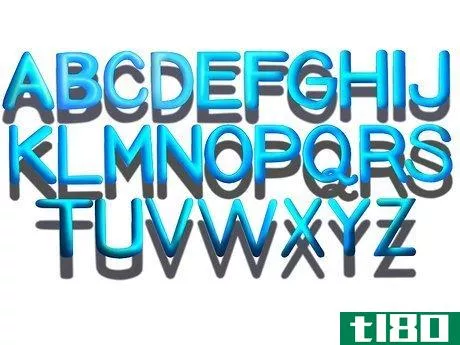
衬线3d方块字母示例
着色3d方块字母示例
方法1方法1/29:数字方法
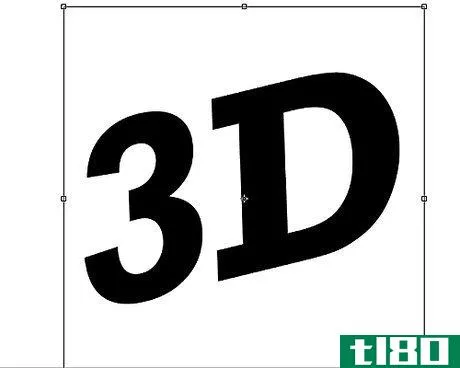
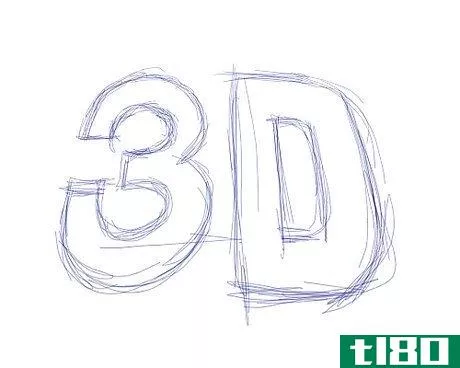
- 1打开图形设计程序,使用文本框输入所需的“文本”。3D将用作本例的“文本”。
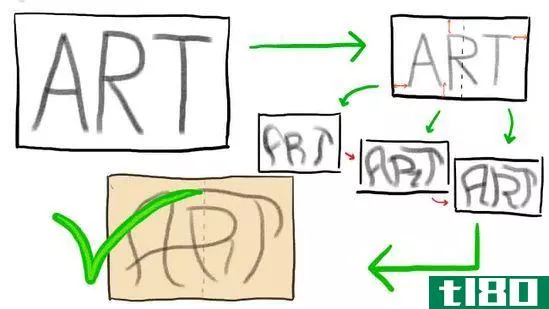
- 2.转换课文。倾斜、旋转或扭曲文本,以满足您的设计需求。
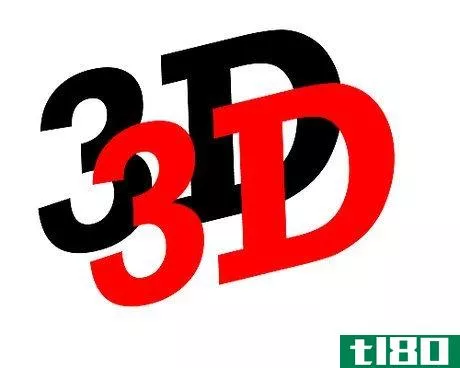
- 3.定义正面。你将复制原始文本,所以你需要给它一个不同的颜色来定义它。
- 4.将黑色文本复制。继续复制阴影文本,直到到达前面。
- 5细化边缘,以平滑文本中的一些锯齿边缘。
- 6为作品添加一些收尾处理,比如一些亮点或阴影。

方法2方法2/29:传统方法
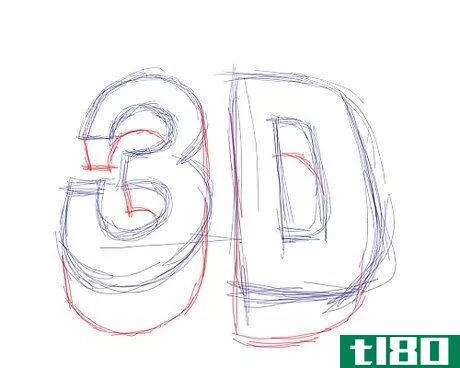
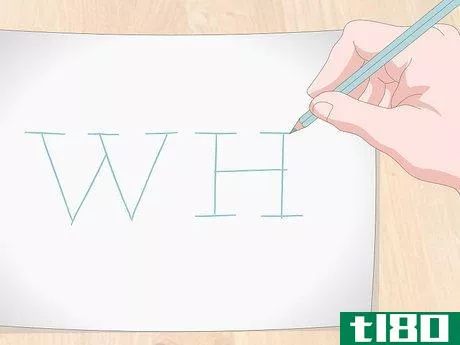
- 1用铅笔轻轻地勾选文本。如果有点凌乱,不用担心,因为你以后会用墨水把它弄脏的。不要忘了给每个字母加上粗体,因为你需要它来传达阴影。
- 2为草图添加深度。诀窍是复制文本/字母的轮廓,然后你就有了它,深度!
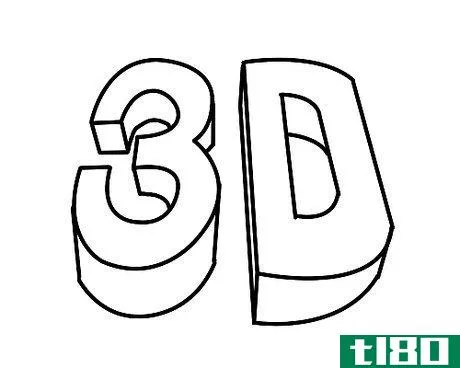
- 3在图纸上涂上墨水并擦除草图。
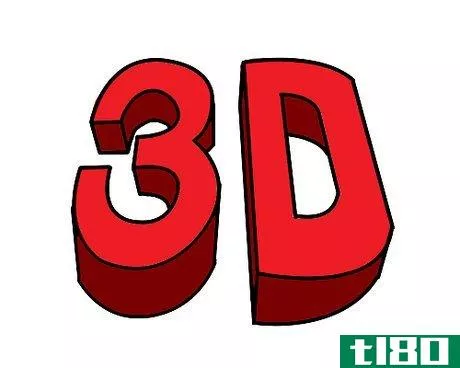
- 4.填入一些颜色。顶部的颜色应该较浅,而深度应该较深。
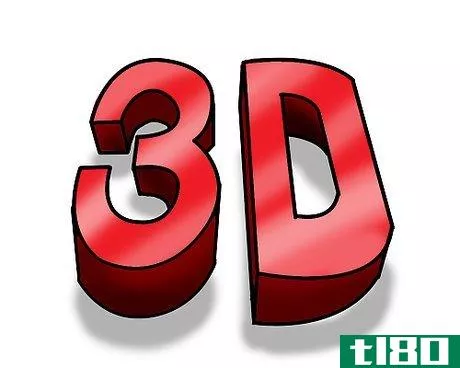
- 5为作品添加一些收尾处理,比如一些亮点或阴影。
方法3方法3/29:a
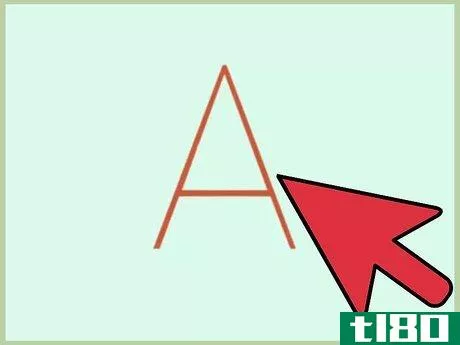
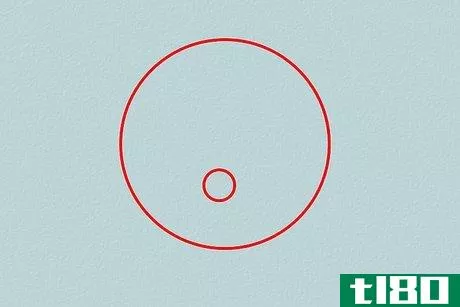
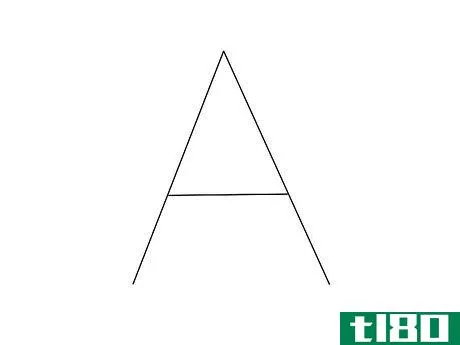
- 1画字母A的简单木棍,作为泡泡字母A的主要指南。
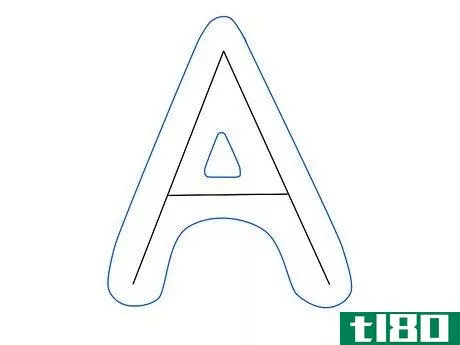
- 2.使用字母A指引,画出字母A的轮廓草图。只需画一条非常轻的线,看起来像是覆盖了字母A。如果你想让它更厚,在气泡字母A的内部显示更多的空间。
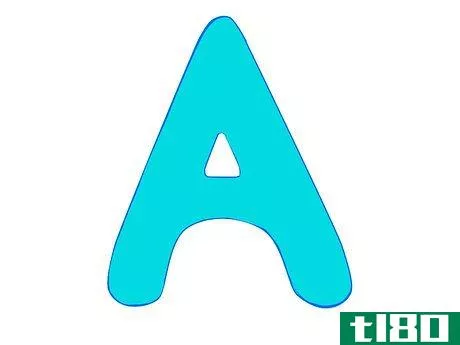
- 3填写基本颜色。选择你最喜欢的颜色,并将其填入气泡字母A提纲中。
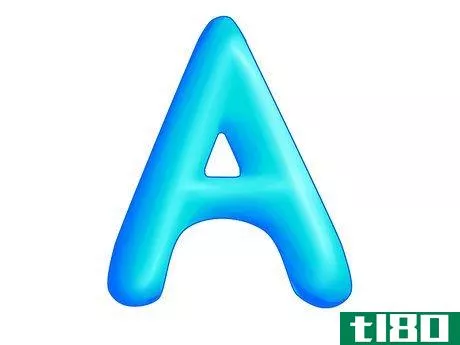
- 4添加亮点。现在,使用您选择的颜色的较浅阴影来显示高光。这显示了字母上的3d效果。在任何图形上显示3D效果时,明暗非常重要。
方法4方法4/29:b
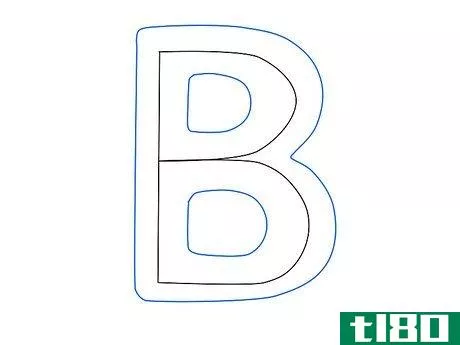
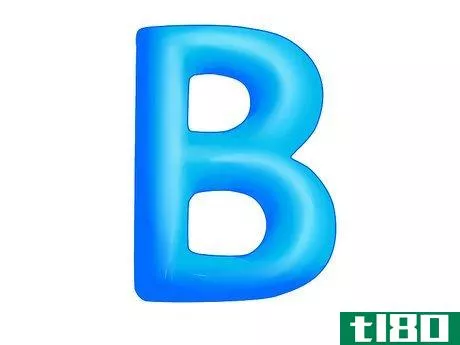
- 1对字母B使用相同的轮廓草图。基本上,我们将对整个字母表使用相同的技术。
- 2用字母B的基本颜色填充。
- 3用较暗的色调添加阴影。
- 4添加较浅的色调,涂抹高光和阴影区域以显示3D效果。


方法5:29中的方法5:c
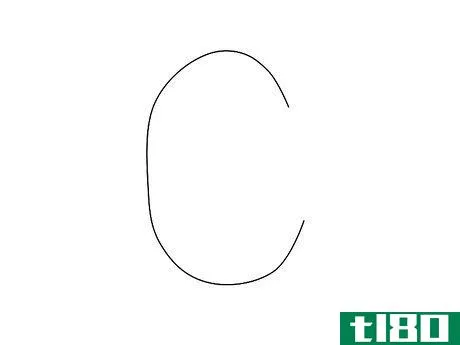
- 1画字母C的简单线条图。
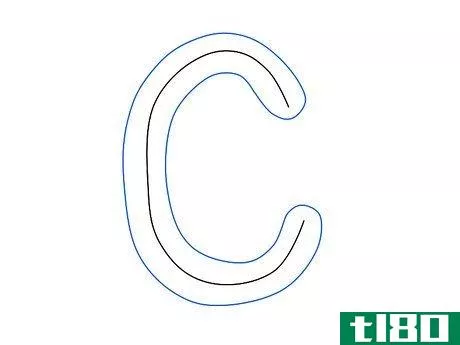
- 2为字母C添加气泡轮廓草图。
- 3删除字母C的条形图,并填写基本颜色。
- 4添加较暗和较亮的色调,并涂抹颜色以显示3D效果的高光和阴影。


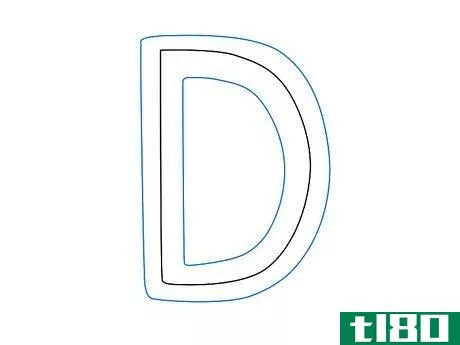
方法6方法6/29:d
- 1为字母D绘制轮廓草图。
- 2填充颜色。
- 3涂抹颜色以显示3D效果。确保与明暗效果一致。这对显示3D效果有很大帮助。


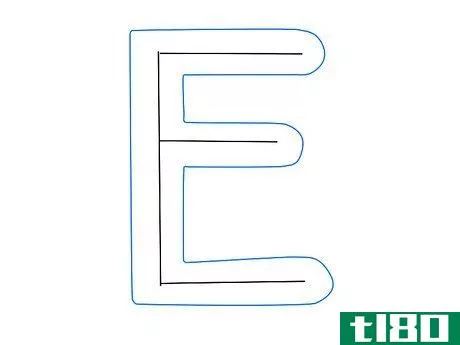
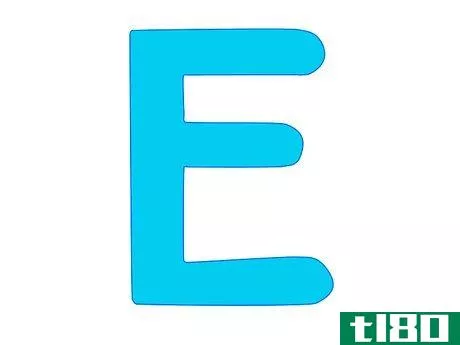
方法7方法7/29:e
- 1绘制气泡字母E的轮廓草图。
- 2以基本颜色填充。
- 3添加气泡字母E的明暗效果。

方法8方法8/29:f
- 1绘制气泡字母F的轮廓。
- 2添加也可用于明暗效果的颜色。
- 3涂抹颜色以显示3D效果。


方法9方法9/29:g
- 1使用与气泡字母G相同的技巧。
- 2添加灯光和阴影,然后涂抹颜色以显示3D效果。


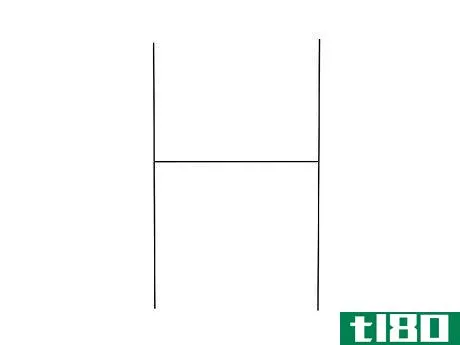
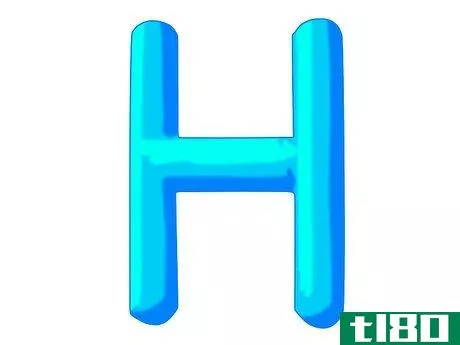
方法10方法10/29:h
- 1为字母H绘制木棍图形。
- 2填充颜色。
- 3涂抹颜色以显示3D效果。

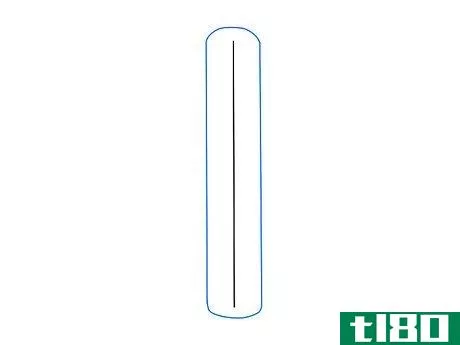
方法11方法11/29:i
- 1在字母I上绘制木棍图形。
- 2添加气泡字母I的轮廓草图。
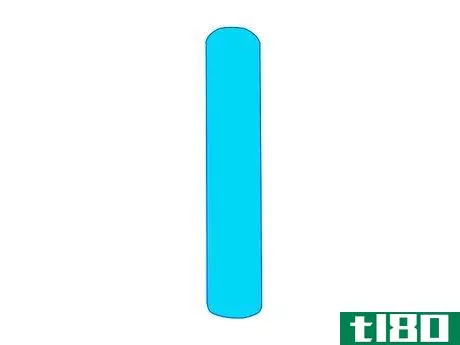
- 3填写基本颜色。
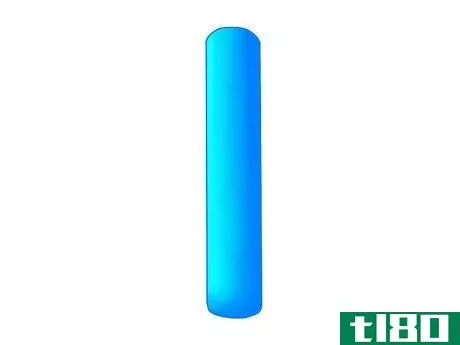
- 4添加明暗颜色,然后涂抹颜色以显示字母I的3D效果。

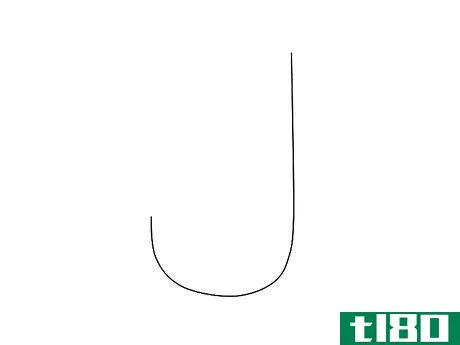
方法12方法12/29:j
- 1为字母J绘制木棍图。
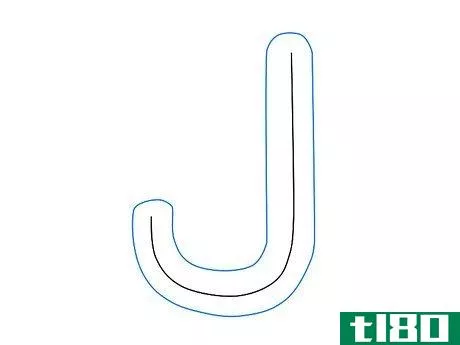
- 2添加字母I气泡字母图的轮廓。
- 3填写基本颜色。
- 4添加明暗颜色,然后涂抹颜色以显示气泡字母J的3D效果。


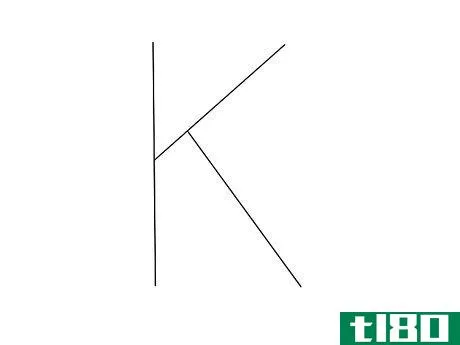
方法13方法13/29:k
- 1为字母K绘制木棍图形。
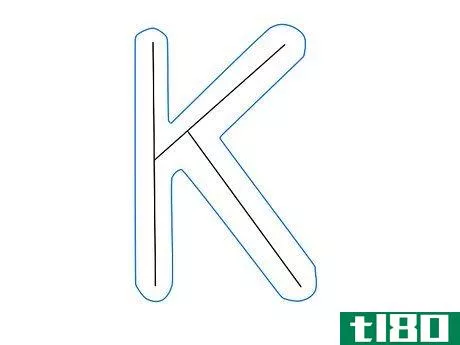
- 2在字母K上添加气泡的轮廓。
- 3填写基本颜色。
- 4添加高光和阴影。


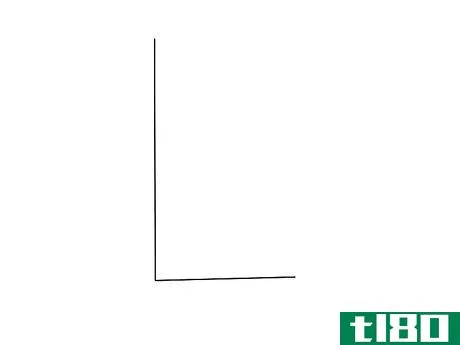
方法14方法14/29:l
- 1为字母L绘制木棍图形。
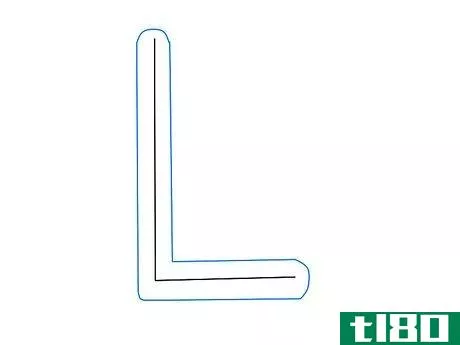
- 2添加气泡字母L的轮廓草图。
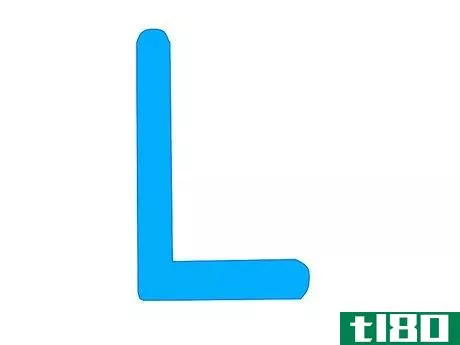
- 3填充颜色、阴影和高光。
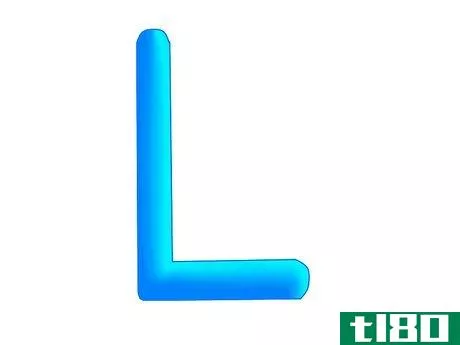
- 4混合颜色以显示3D效果。
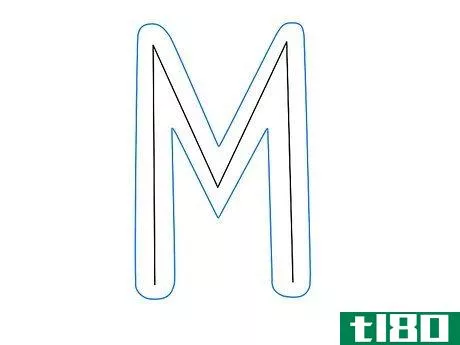
方法15方法15/29:m
- 1画字母M的棍形。
- 2添加气泡字母M的轮廓草图。
- 3.填写颜色。
- 4涂抹颜色以显示字母M的3D效果。


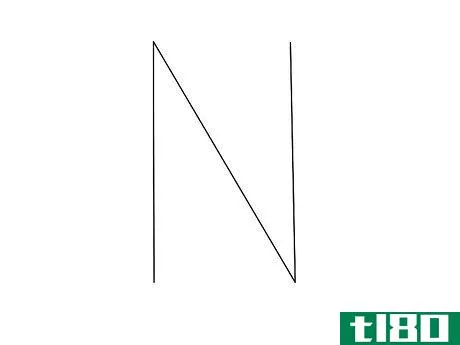
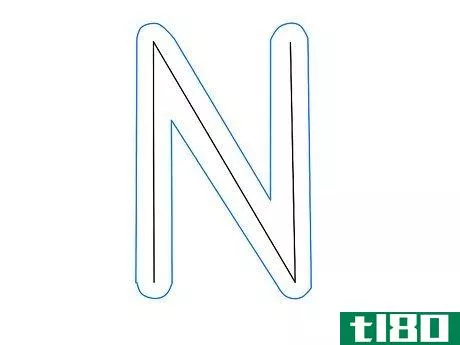
方法16方法16/29:n
- 1画字母N的棍形。
- 2添加字母N气泡字母的轮廓草图。
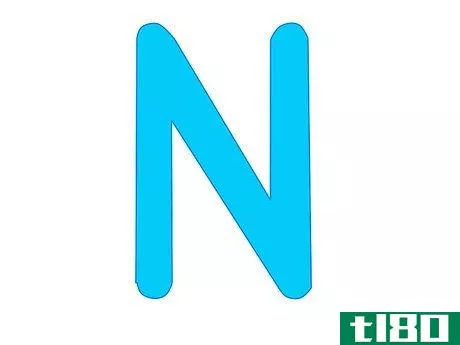
- 3填写基本颜色。
- 4为字母N添加高光和阴影3D字母。

方法17方法17/29:o
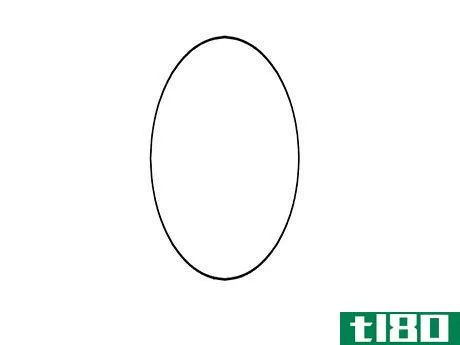
- 1画字母O的木棍图。
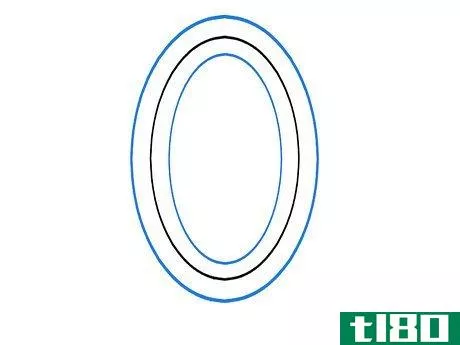
- 2添加气泡字母O的轮廓草图。
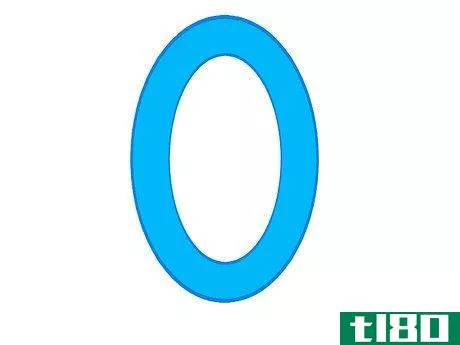
- 3填写基本颜色。
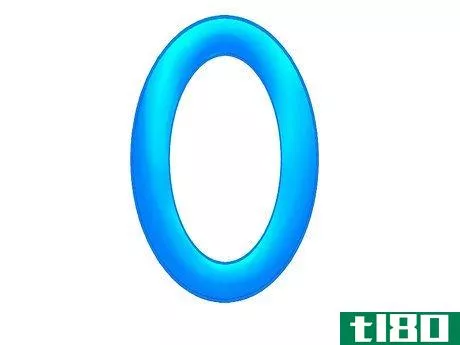
- 4为3D效果添加高光和阴影。
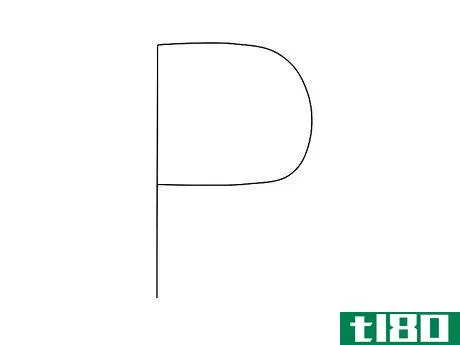
方法18方法18/29:p
- 1为字母P绘制木棍图。
- 2使用相同的方法,直到得到气泡字母P,然后填充基本颜色。
- 3为字母P的3D效果添加高光和阴影。


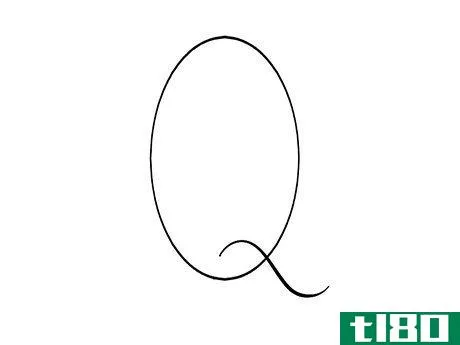
方法19方法19/29:q
- 1画出字母Q的棍形。
- 2添加气泡字母Q轮廓草图。
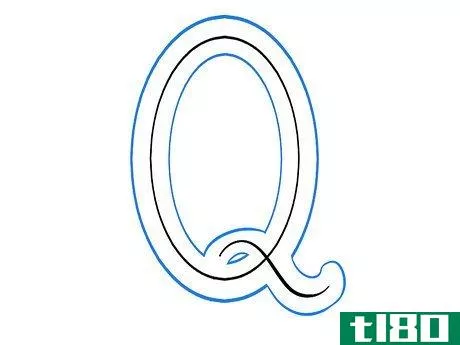
- 3填写基本颜色。
- 4在气泡字母Q上添加3D效果的高光和阴影。


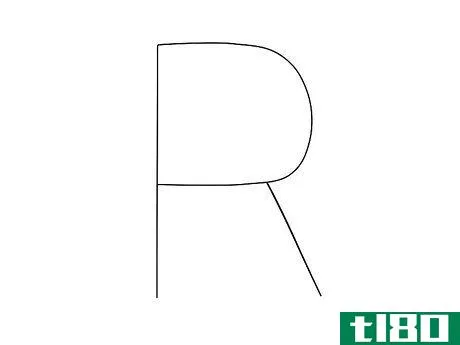
方法20方法20/29:r
- 1画字母R的棍形。
- 2使用相同的方法,直到得到气泡字母R,然后填充基本颜色。
- 3为字母R的3D效果添加高光和阴影。


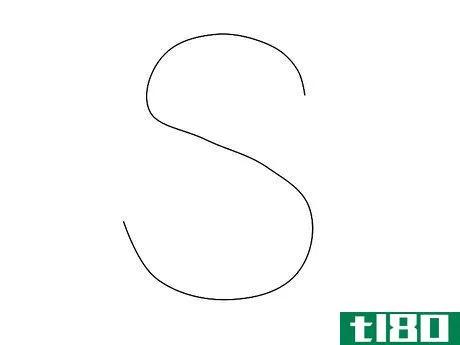
方法21方法21/29:s
- 1画字母S的棍形。
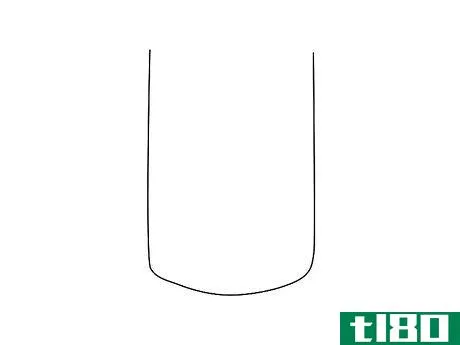
- 2添加气泡字母S的轮廓草图。
- 3填写基本颜色。
- 4在气泡字母S上添加3D效果的高光和阴影。


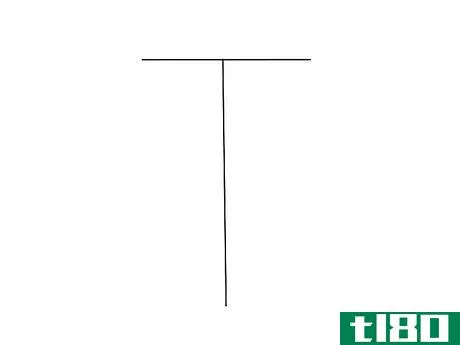
方法22:29中的方法22:t
- 1画字母T的棍形。
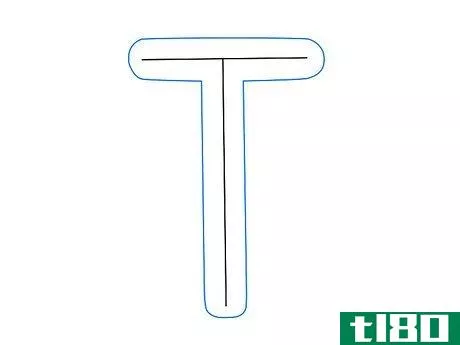
- 2添加气泡字母T的轮廓草图。
- 3填写基本颜色。
- 4在气泡字母T上添加3D效果的高光和阴影。


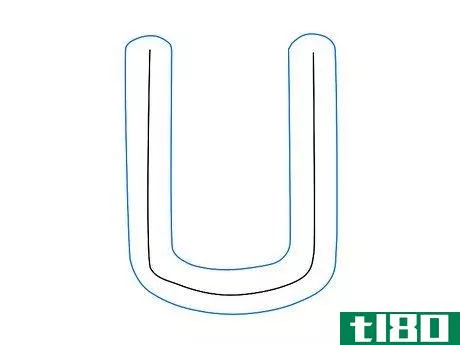
方法23方法23/29:u
- 1画字母U的棒状图形。
- 2添加字母U气泡字母的轮廓草图。
- 3填写基本颜色。
- 4在气泡字母U上添加3D效果的高光和阴影。


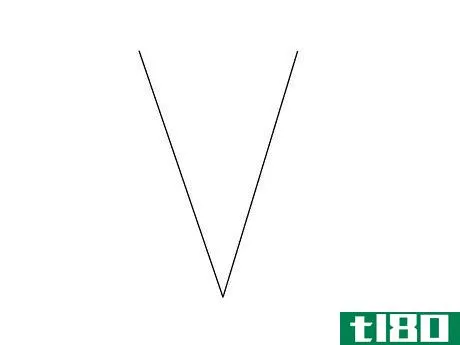
方法24方法24/29:v
- 1绘制字母V气泡字母的棒状图形。
- 2添加气泡字母V的轮廓草图。
- 3填写基本颜色。
- 4添加高光和阴影。


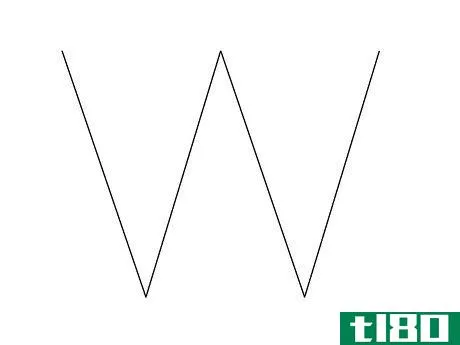
方法25方法25/29:w
- 1画出字母W气泡字母的棒状图形。
- 2添加气泡字母的轮廓草图,并填写基本颜色。
- 3为3D效果添加高光和阴影。


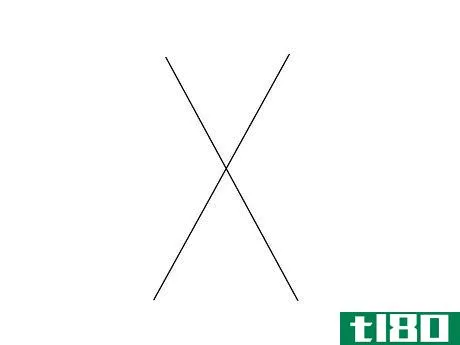
方法26方法26/29:x
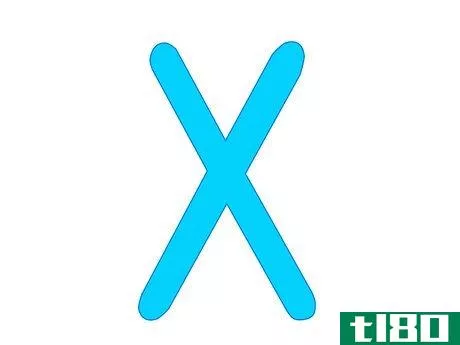
- 1画字母X的棒状图形。
- 2添加气泡字母X的轮廓草图。
- 3填写基本颜色。
- 4为字母X添加3D效果的高光和阴影。


方法27方法27/29:y
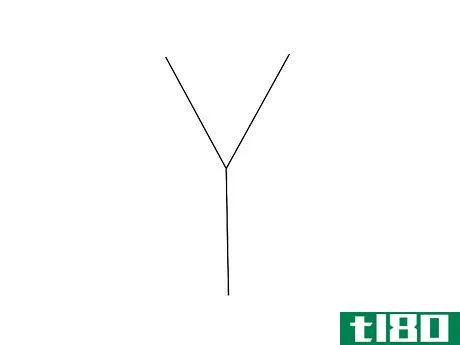
- 1画字母Y的棍形。
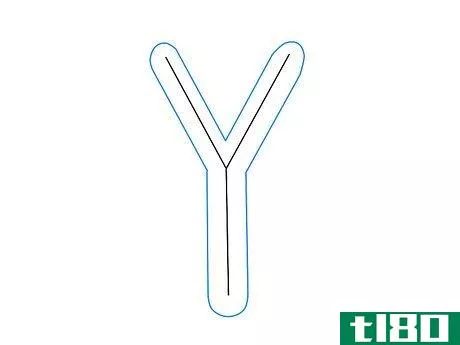
- 2添加气泡字母Y的轮廓草图。
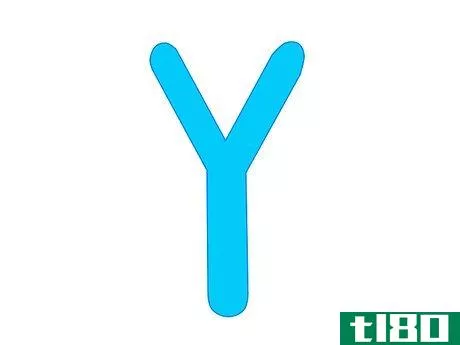
- 3填写基本颜色。
- 4为字母Y添加3D效果的高光和阴影。

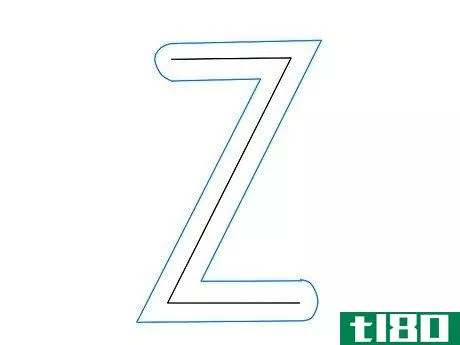
方法28方法28/29:z
- 1画字母Z的棍形。
- 2添加气泡字母Z的轮廓草图。
- 3填写字母Z气泡字母的基本颜色。
- 4在字母Z气泡字母上添加3D效果的高光和阴影。


方法29方法29/29:阴影效果
- 1收集你所做的所有3D气泡字母。
- 2添加更多阴影效果以显示只有一个光源。照明效果在绘制任何3D对象时都非常重要。所以要确保一切都与光源同步。
- 3通过添加投射阴影来完成效果。如果光源来自上方区域,则阴影应显示在与光线相反的区域。

- 永远记住给字母加上粗体,这样你就能正确地描绘阴影了!
- 保持正面颜色和深度几乎相同。
- 发表于 2022-03-24 01:38
- 阅读 ( 62 )
- 分类:生活方式
你可能感兴趣的文章

绘画(drawing)和素描(sketching)的区别
...描难。 示例 点击下面的小图纸查看凸起的床平面图。如何准备并在明天之前将修改后的图纸返回现场?那家商店**水彩画、粉彩画和铅笔画。**商是否有角色帮助准备图纸?真是一个3D图纸约翰! 哈利会连续观察这些动物好几...
如何绘制三维正楷(draw 3d block letters)
字母表样本 3d方块字母表示例 衬线3d方块字母示例 着色3d方块字母示例 第1部分第1部分,共3部分:图纸大写字母 用铅笔在你的页面中间写大写字母。也可以在3D中使用小写字母,但使用大写字母要容易得多,...
如何使用着色绘制三维形状(draw 3d forms using shading)
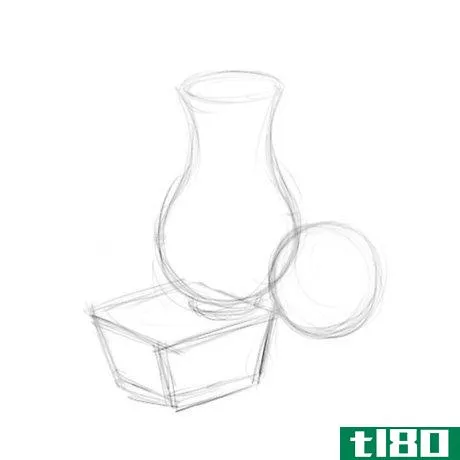
步骤 1画一些对称的花瓶形状。确保给他们一个椭圆形/椭圆形的开口。使用曲线、直线和之字形线条。 2绘制窗体后面的“地平线”或表格线,在页面中间。 3.确定光源。 4开始着色。从离光源最远的形状开始,避免把手...

如何绘制3d形状(draw 3d shapes)
...柱的中心线。 4在三棱镜的一侧进行遮光。想一想光线是如何照射棱镜的,然后在棱镜的另一侧遮住阴影,直到光线变暗。例如,如果光线照射到棱镜的侧面,则使正面变暗。如果你想让光线照射到棱镜的前面,可以在侧面加上...
如何画泡泡字母(draw bubble letters)
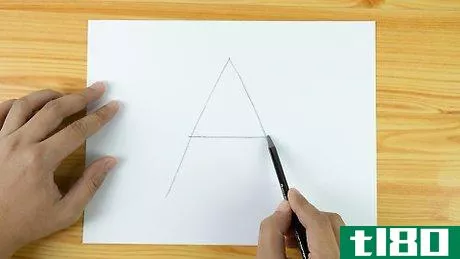
...样本 支持wikiHow并解锁所有示例。 方法1方法1/2:如何形成基本气泡 1用铅笔书写小写或大写字母。从你想要的任何字母开始。一个简单的大写字母,比如“A”,是一个很好的开始,但是你也可以使用完全相同的技巧来...
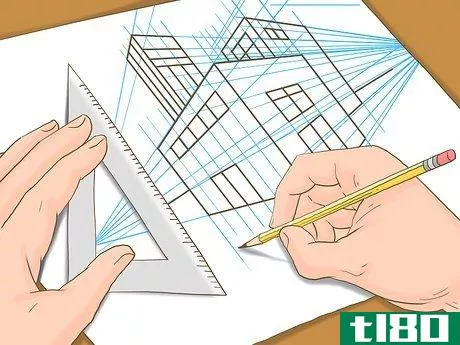
如何画建筑物(draw buildings)
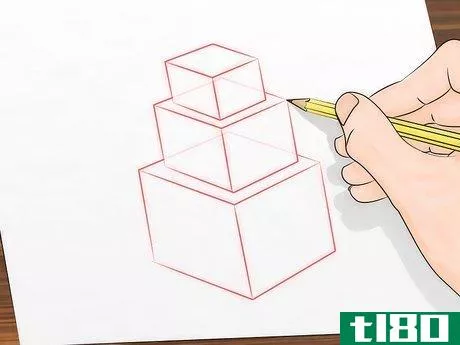
步骤 1画三个堆叠的立方体。最小的放在顶部,最大的放在底部。一般形状应该类似于金字塔,但当然是由几个棱柱体组成,而不是一个多面体。 2在入口添加,并在立方体表面绘制垂直/水平交叉线。这些将作为建筑物窗户...
如何为游戏绘制概念图(draw concept art for a game)
步骤 1如果你想让这个角色成为男性或女性(或机器人或动物等),你应该在网上画画或寻找一个基地。确保它具有您希望角色具有的形状。你必须考虑以下几点:它们是多毛的,毛茸茸的(动物皮毛),还是长发或短发?他...
如何画一些很酷的东西(draw cool things)
...它真正酷的话。尝试在不同的季节绘制风景,看看它们是如何随时间变化的。如果你住在风景优美的地方,那就去一个地方自己拍照。 2.用玫瑰做简单的线条。玫瑰花瓣有一个独特的形状,画起来相对简单,而且很酷。首先画...
如何画漂亮的字母(draw fancy letters)
方法1方法1/6:绘画基础书法 学习书法的基础。书法字母是用粗细的笔画来创造形状的。它们不像传统的字母那样书写。这种“厚而薄”的效果创造了一种流动、一致的模式。以下是要遵循的基本规则:保持笔尖角度恒定不要...
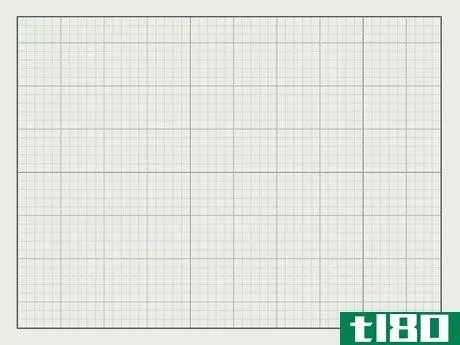
如何在3d中绘制家具(draw furniture in 3d)
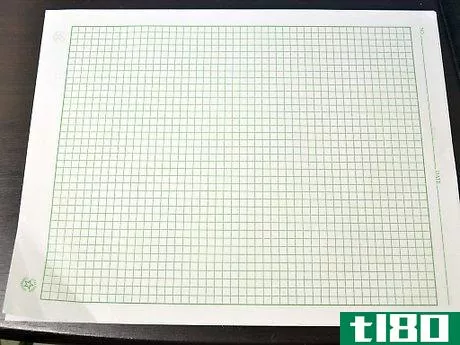
步骤 1购买带有1/4“正方形的图形板。或在空白纸上创建自己的等边正方形网格。 2从纸的左边缘算起10个正方形。 3在纸中间附近任何正方形的右下角画一个点。 4给这个点贴上标签。数线以定位下一个点,或使用尺子测...
0 篇文章